Transforming your yard into a lush, green paradise can be a rewarding endeavor. One of the quickest ways to achieve this is by laying sod – pre-grown grass that brings instant vibrancy to your lawn.
In this comprehensive guide, we’ll walk you through the step-by-step process on how to lay sod DIY, ensuring a successful transformation that’ll have your neighbors green with envy.
Table of Contents
Understanding Sod
Sod, also known as turf, is basically grass that experts grow on specialized farms. They nurture it to form a dense, healthy carpet of grass with strong, mature roots.
This pre-grown grass is a swift and efficient method to get a lush green lawn in no time, making it a go-to for those learning how to lay sod.
Benefits of Sod
Sod offers a multitude of advantages, making it an attractive choice for DIY lawn enthusiasts.
Instant Transformation
Sod offers immediate gratification, transforming bare soil into a lush green landscape instantly, providing instant beauty and satisfaction.
Soil Erosion Prevention
Mature sod roots act as a natural barrier, preventing soil erosion, ensuring stability even in harsh weather conditions.
Weed Control
Dense sod minimizes weed growth by providing limited space for weed seeds to take root, reducing the need for extensive weed management.
Time Efficiency
Sod saves time by skipping the waiting period for seed germination, delivering a fully grown lawn instantly, perfect for those seeking quick lawn establishment.
Materials Needed

Starting a sod installation requires a set of essential supplies along with additional tools for a more refined finish.
Essential Supplies for Sod Laying
- Sod rolls
- Soil conditioner
- Fertilizer
Optional Tools for Enhanced Results
- Sod cutter
- Lawn roller
- Irrigation equipment
How to Lay Sod: Step-by-Step DIY Guide

1. Prepare Your Site
a. Measure the Area
Before diving into the DIY process of how to lay sod, it’s essential to begin by precisely measuring the length and width of the area where you plan to lay the sod.
This step is key to making sure you get just the right amount of sod for full coverage. Accurate measurements prevent the headache of having too little sod or dealing with a surplus that’s not needed.
b. Clear the Area
Making sure the area is clear and tidy is super important for your DIY sod installation to go smoothly.
Get rid of any debris, rocks, or old bits of grass really well. Spend some time making the ground nice and even, so it’s smooth all over. This prep work makes sure the sod sticks well to the soil, helping it take root and grow strong.
c. Soil Preparation
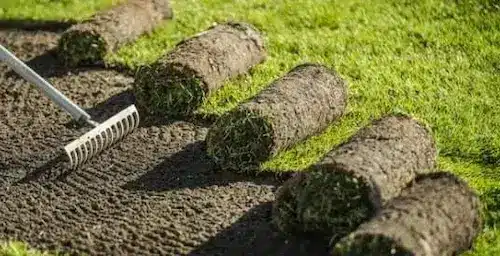
Getting the soil ready is like laying the foundation for a healthy lawn. Use a rake or tiller to loosen up any hard-packed areas in the soil. This helps the roots grow better and allows the soil to soak up nutrients.
Adding compost or good fertilizer boosts the soil’s fertility, giving the sod’s roots the perfect environment to grow strong and healthy.
2. Choosing and Ordering Sod
a. Select the Right Sod
When picking out the kind of sod for your lawn, think about things like the weather where you live, what your soil’s like, and how much sunlight your yard gets.
Different sod types do better in different conditions. There’s Bermuda, Zoysia, and Fescue, each with its own strengths depending on where you’re planting. Making a smart choice ensures your lawn stays healthy and lively in the long run.
b. Ordering Sod
After deciding on the sod type, calculate the square footage of your area accurately. Order the sod accordingly, ensuring it arrives close to your planned installation date.
Freshly cut sod ensures optimal health and better integration into your lawn, enhancing its chances of successful establishment.
3. Installing Sod
a. Lay the First Row
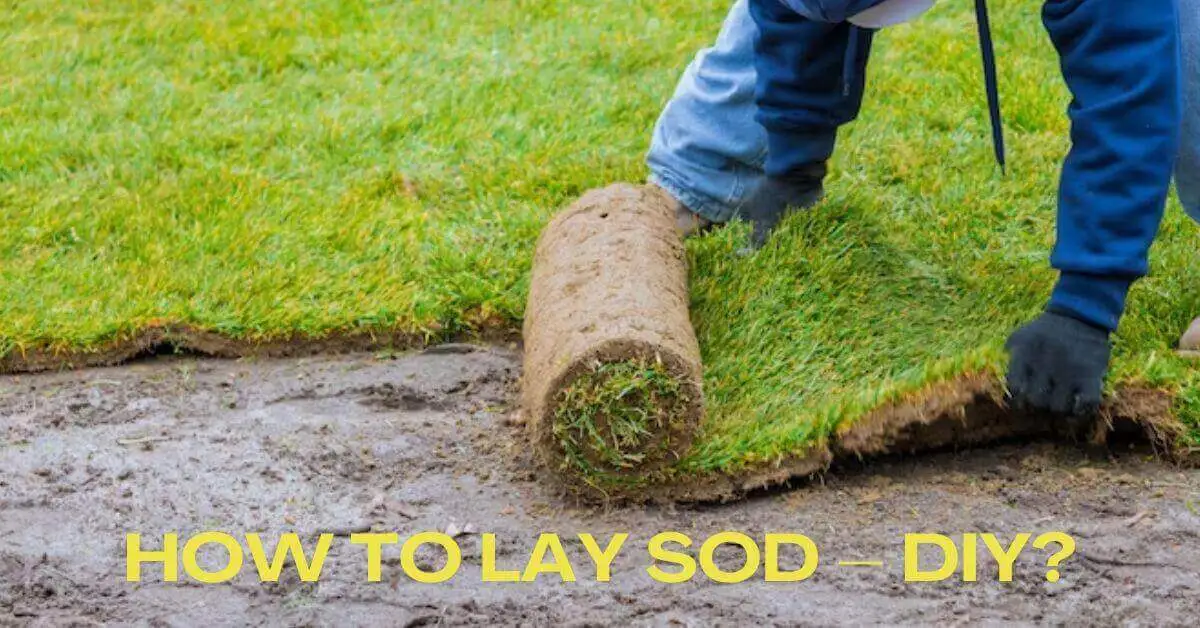
Start by laying the sod along a straight edge, like the driveway or sidewalk. Make sure the sod pieces fit snugly against each other without overlapping. This first row is crucial—it sets the stage for a tidy and even layout of the sod.
b. Stagger the Seams
To achieve a seamless appearance and encourage robust root development, stagger the seams of each subsequent row, much like laying bricks. This technique minimizes visible lines and promotes a more cohesive and healthy lawn.
c. Trim Excess Sod
As you go along, grab a sharp knife or a sod cutter to trim off any extra sod along the edges, curves, or tricky spots. Doing this precisely gives the sod a perfect fit and makes your lawn look really neat and tidy.
4. Caring for Newly Installed Sod
a. Watering
Right after laying the sod, thoroughly water it to promote hydration and root establishment. Ensure the sod remains consistently moist for the initial few weeks, especially during dry periods, to facilitate healthy growth.
b. Avoid Heavy Traffic
To allow the newly laid sod to take root and establish a strong foundation, minimize foot traffic and avoid heavy activities on the lawn for the first few weeks. This precautionary measure prevents displacement and damage to the delicate root system.
c. Fertilizing
After the initial watering, consider applying a starter fertilizer specifically designed for newly installed sod. This step helps stimulate root growth and provides essential nutrients for the developing grass, contributing to a lush and robust lawn.

Troubleshooting Tips for DIY Sod Installation
Dealing with Air Pockets
When doing your DIY sod installation, gently press down on the sod to get rid of any trapped air pockets. This helps the roots grow better by ensuring good contact with the soil.
Addressing Uneven Growth
Keep an eye on your DIY sod for any uneven growth. If you spot any, add some soil underneath those areas to level things out. This promotes even growth across your new lawn.
Conclusion
By mastering the process of how to lay sod, your DIY installation can transform your yard into a lush paradise. Follow the above steps for a vibrant, beautiful lawn that elevates your property’s appeal.
Remember, patience matters. Newly laid sod needs care to develop strong roots. With ongoing maintenance, your DIY sod installation will blossom, offering a picturesque landscape. DIY sodding lets you craft a stunning lawn, giving you the joy of a job well done and a green retreat for relaxation.
FAQs
- Can I lay sod at any time of the year? You can lay sod at different times, but the sweet spot is usually in early fall or spring when the weather’s not too extreme. Avoid super-hot or freezing conditions as they can stress out your fresh sod.
- What are the main challenges of DIY sod installation? DIY sodding can be tricky because you’ve got to nail the soil prep, get those measurements spot-on, and keep up with regular watering. Plus, lifting and laying sod, especially for big areas, can be quite a workout!
- How long does it take for sod to establish roots? Typically, sod takes around 2-3 weeks to sink its roots into the soil. But for that solid, stable growth, it might need about 6-8 weeks to really dig in.
- Should I fertilize newly laid sod? Hold off on the fertilizer for a few weeks after laying down fresh sod. Let those roots settle in first. Once they’re cozy, a light sprinkle of balanced fertilizer can give your new lawn a boost.
- Is it possible to repair patchy or discolored sod after installation? Yup, you can fix up patchy or off-color sod after it’s laid. Adding new sod bits to fill gaps or using smart lawn care tricks like overseeding or re-sodding can perk up your lawn’s look.
Thanks for reading our post on how to lay sod DIY. Visit MyTechBlogz for more informative posts!
